
How to Prepare for a Personal Branding Photoshoot
Preparation is the difference between a session that feels chaotic and one that feels easy. I've photographed a lot of people as a Wellington personal branding photographer, and the clients who come in most prepared always leave with the most variety in their images.
If you've booked a branding session or you're thinking about it, this is everything you need to know before you show up.
What to wear
This is the question I get asked most. And the answer is simpler than most people think.
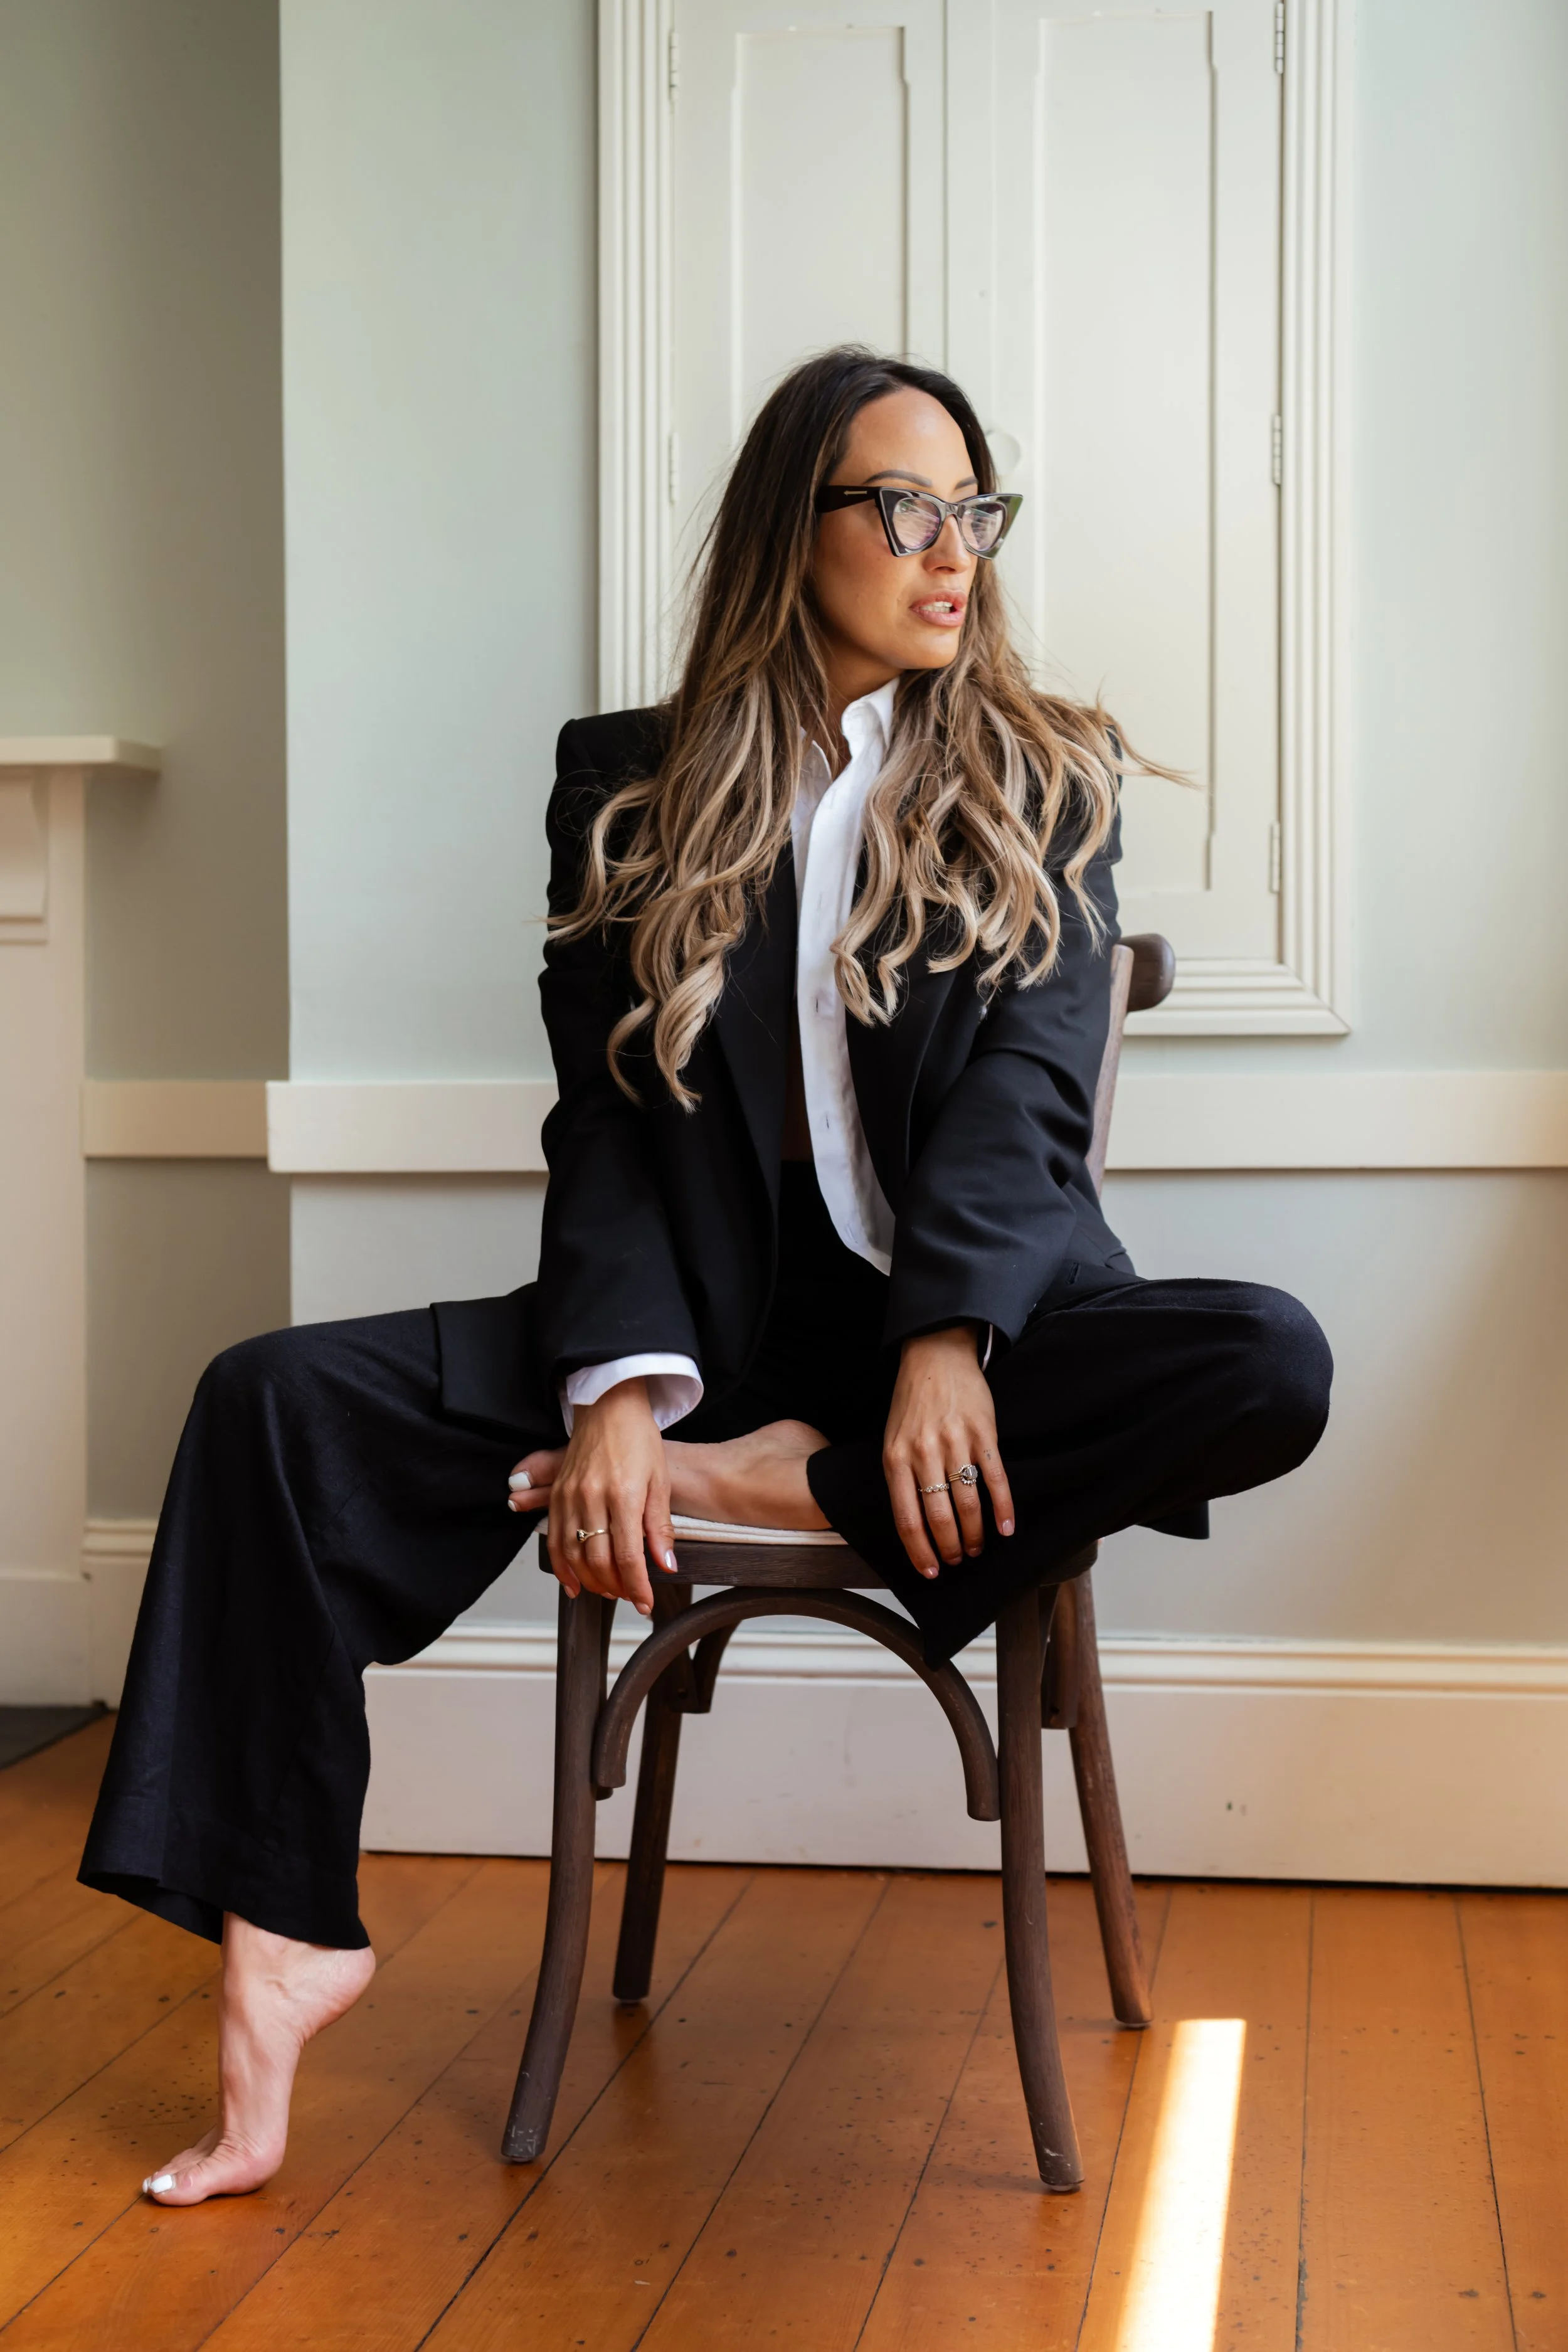
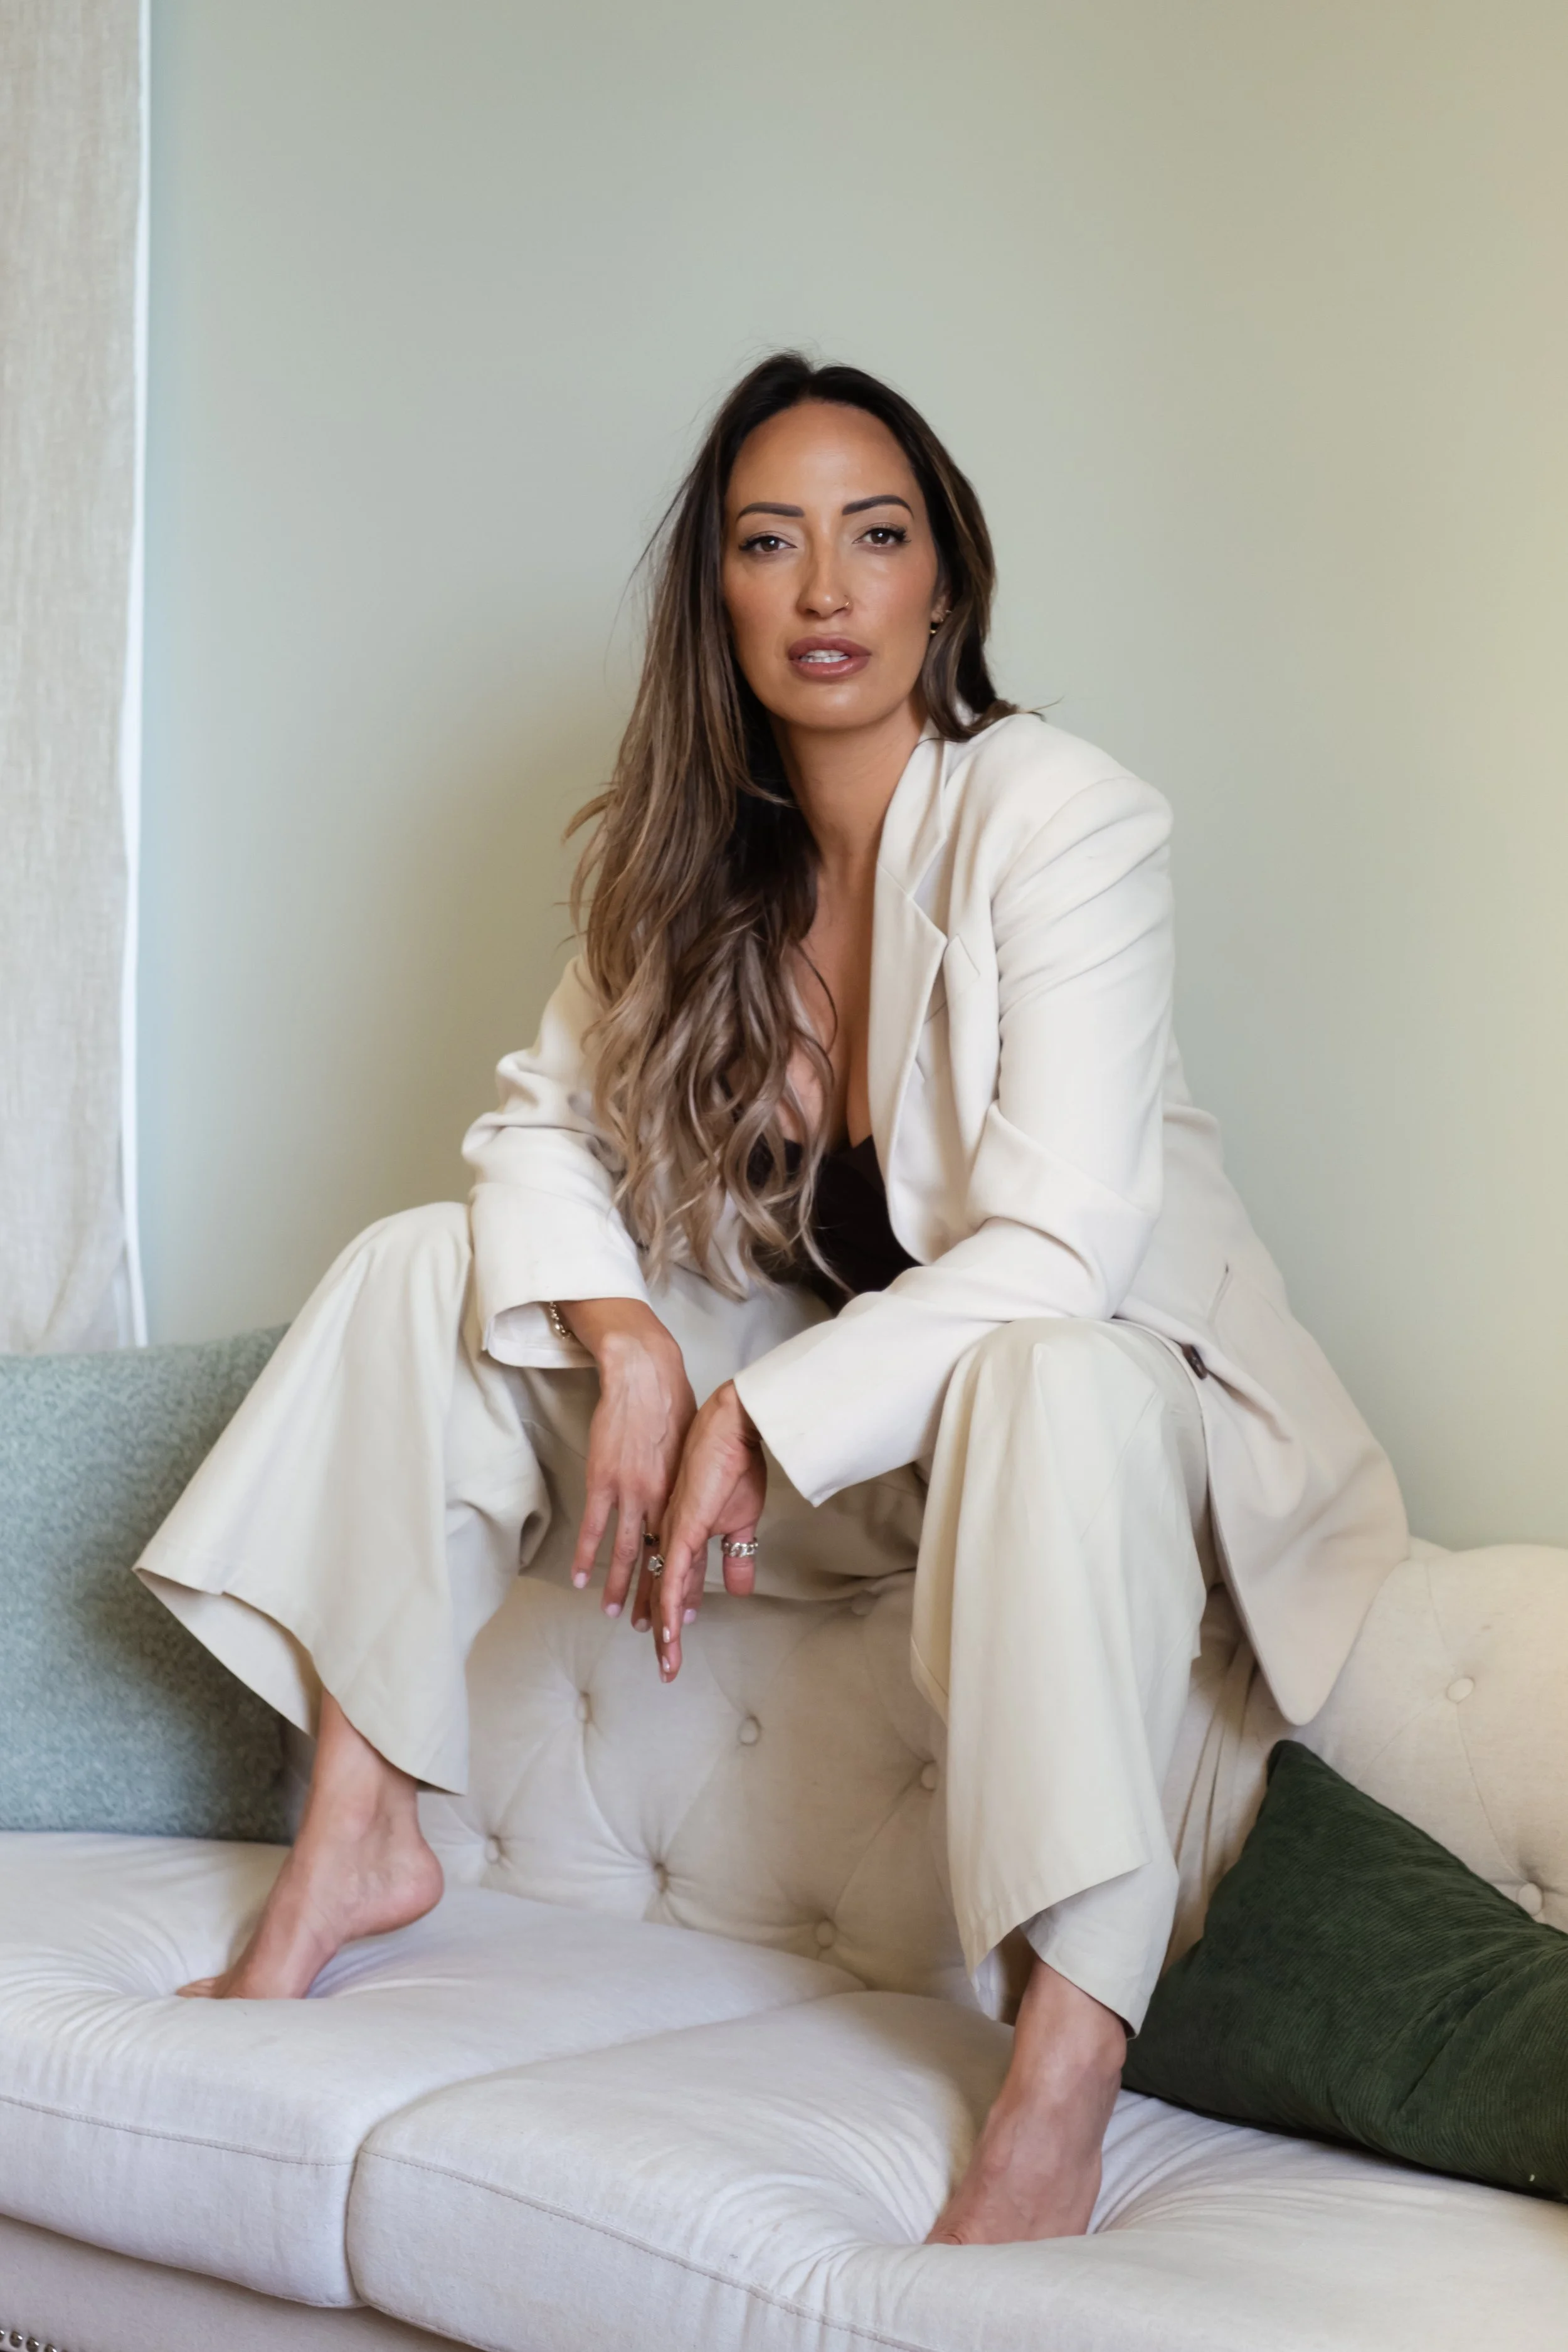
Aim for two to four outfits. Each one should reflect a different side of what you do or how you want to be seen. Think about the range of content you need: something polished and professional, something more casual and approachable, and something in between.
What works well on camera
Solid colours and simple patterns
Textures like linen, knit, and denim that photograph beautifully
Colours that suit your skin tone and feel like you
Clothes you feel confident in, not just clothes that look good on a hanger
Layers you can add or remove to create variety within one outfit
What to avoid
Logos or text that date the images quickly
Very fine stripes or checks that create a moiré effect in photos
Anything that makes you uncomfortable or that you keep adjusting
Outfits that clash with your brand colours if you have them
My practical tip: lay everything out the night before. Try it all on. Check how it moves. Pack more than you think you need, because options on the day are always better than limitations.
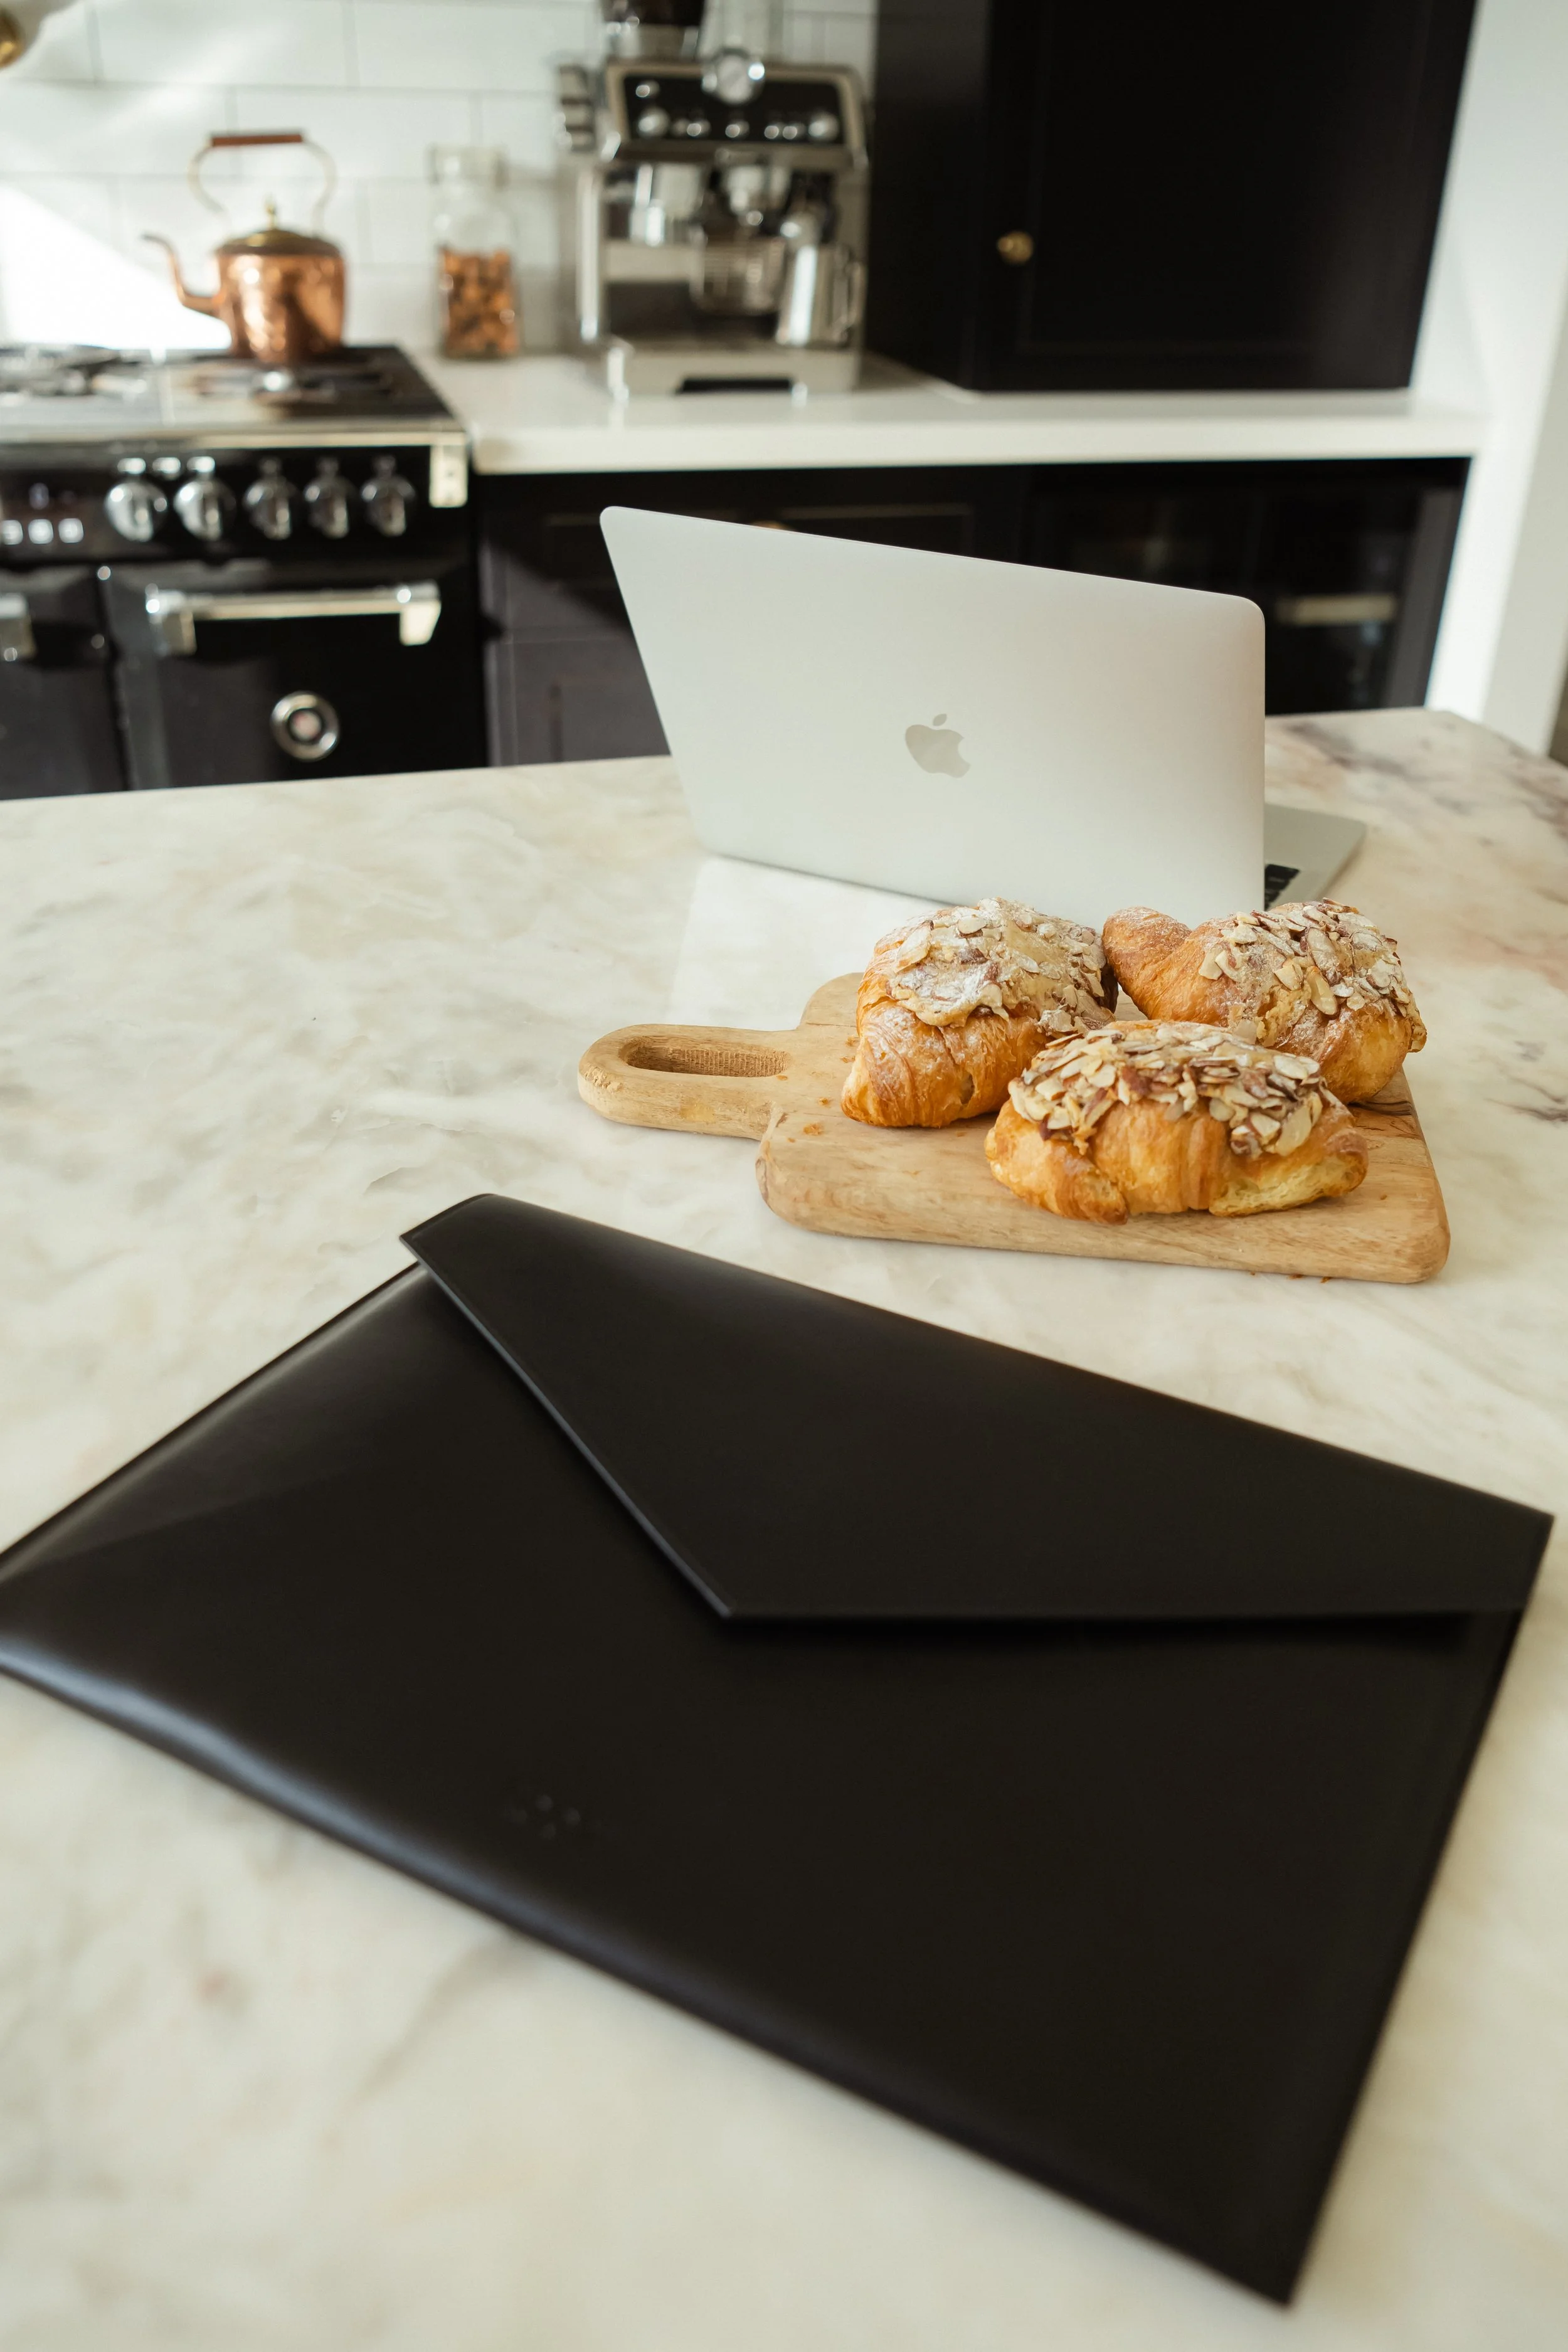
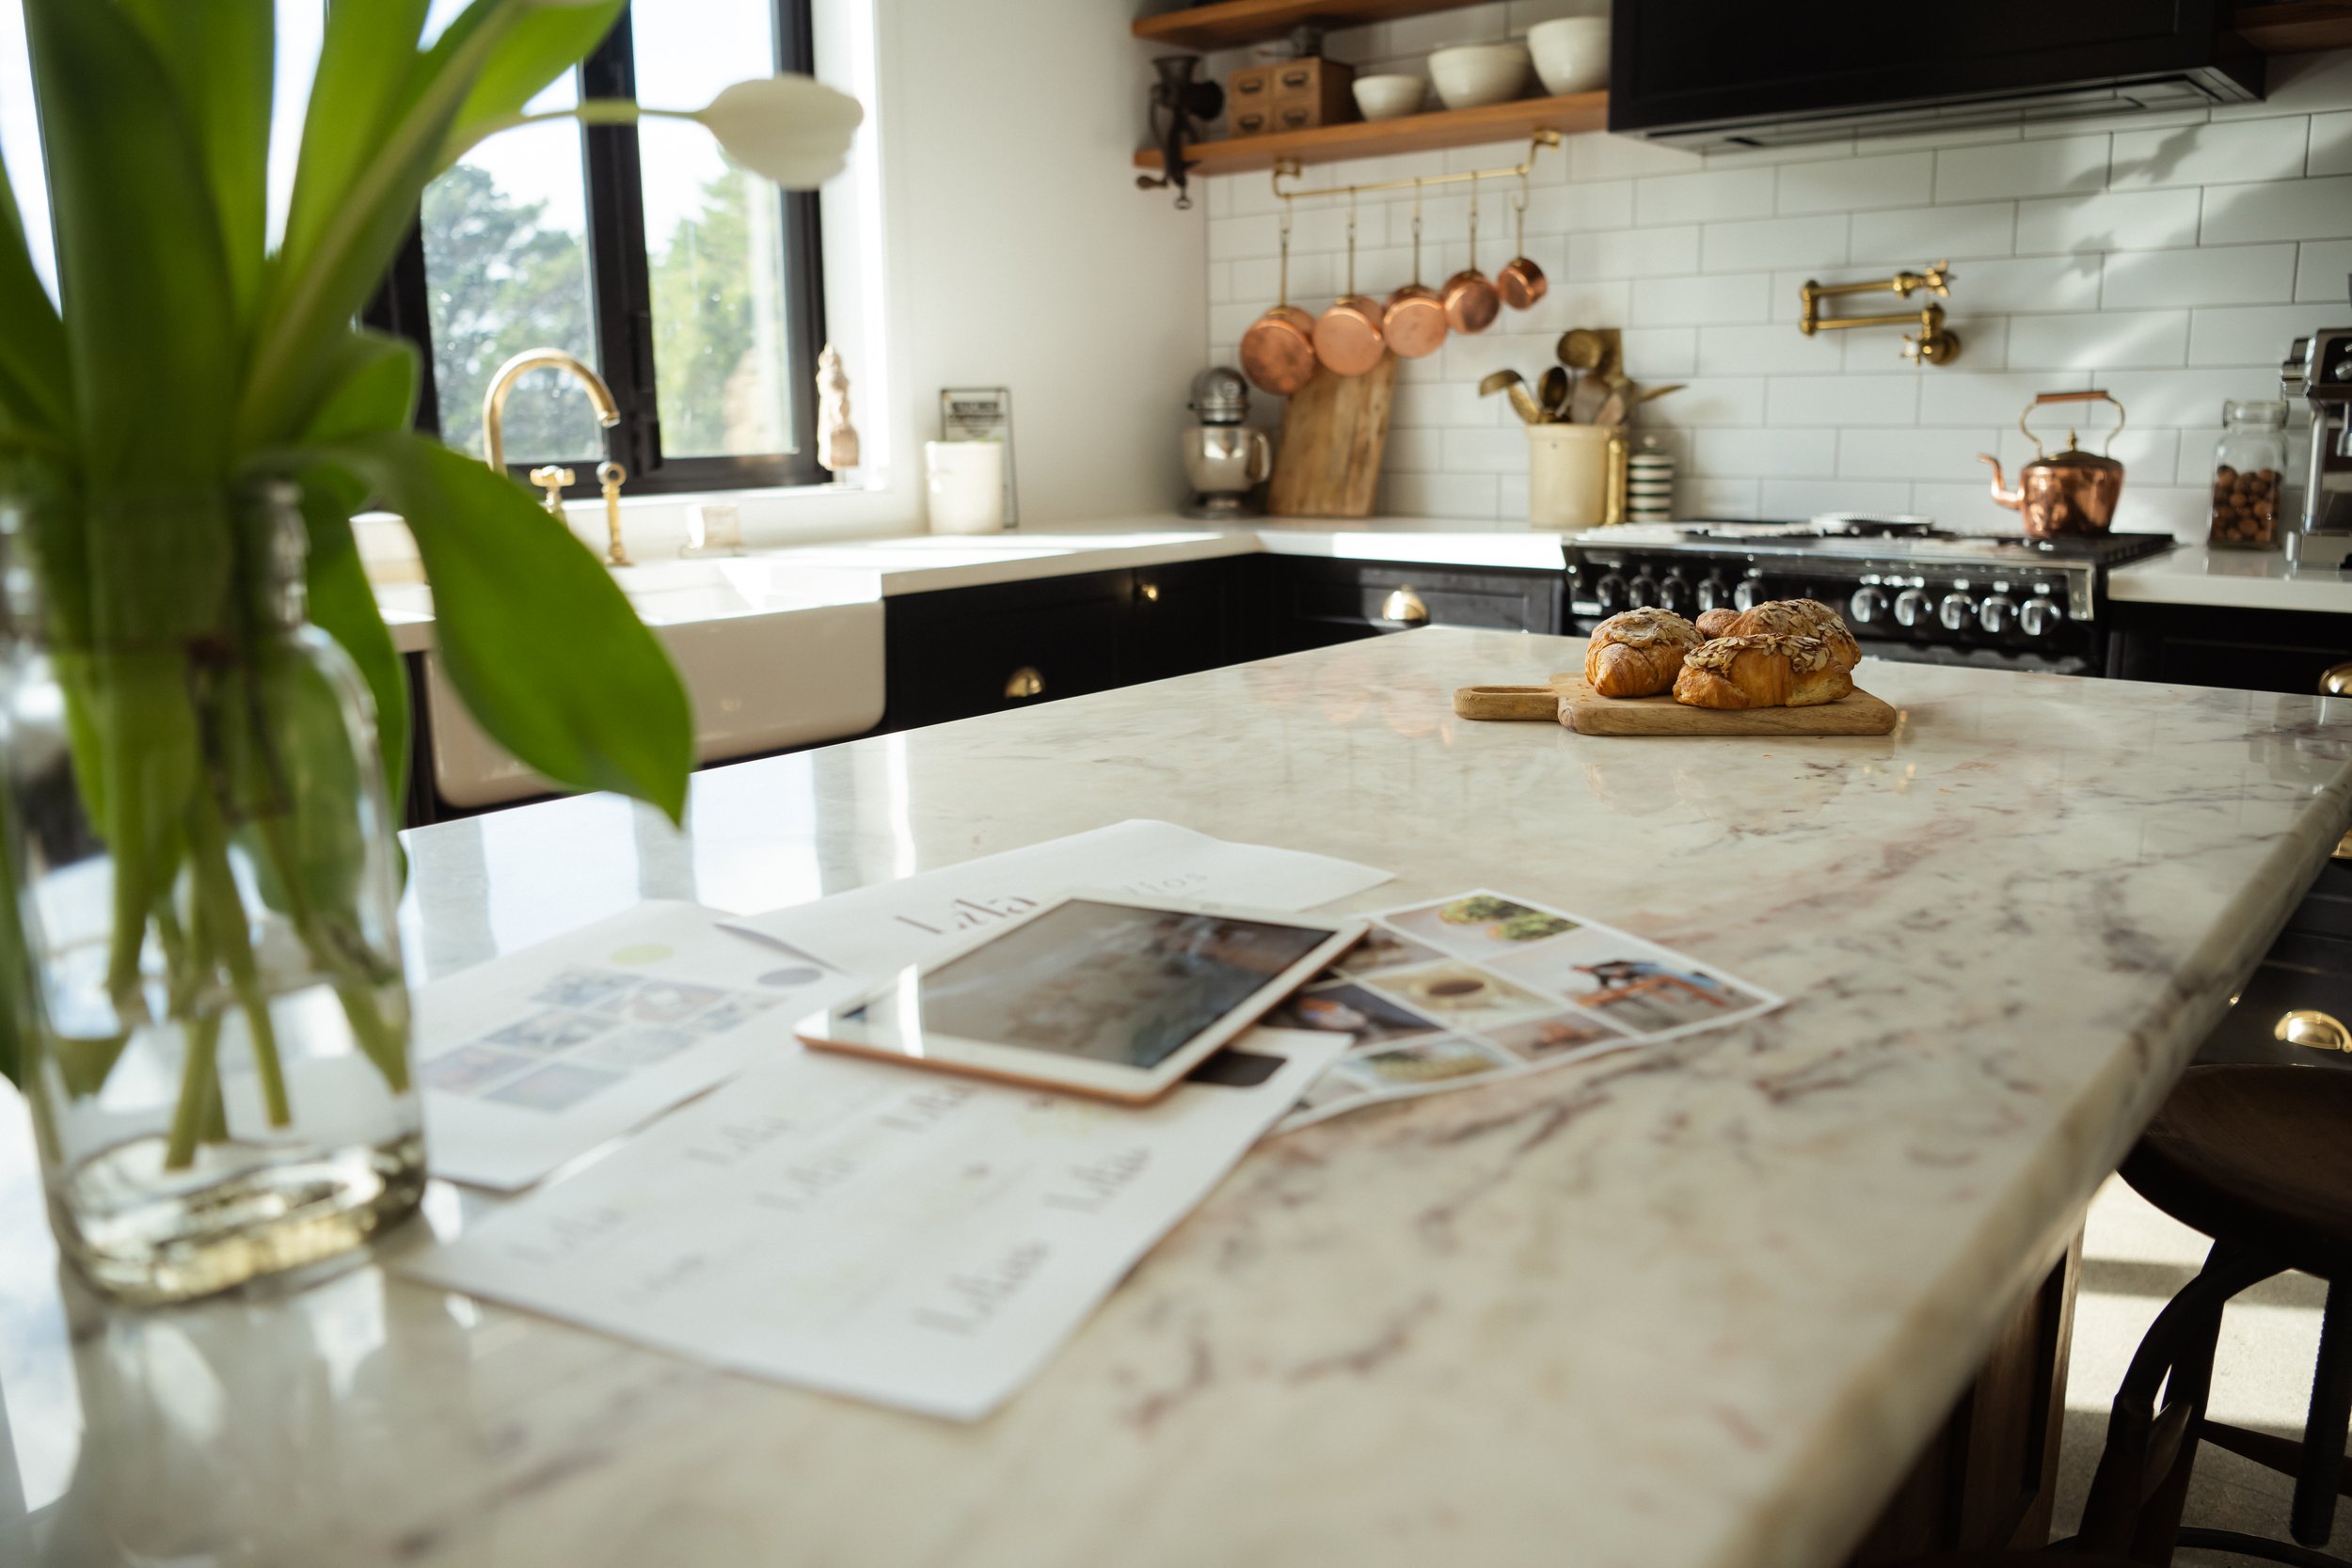
Props and items to bring
Props make images feel real. They give you something to interact with, which instantly makes you look more natural and less like you're just standing in front of a camera.
Think about what you actually use in your work. A laptop. A notebook. A coffee cup. Products you sell. Tools of your trade. Flowers if they suit your brand aesthetic. Books relevant to your field.
You don't need to bring everything. Three to five props is usually plenty. We can style them in different combinations throughout the session to create variety without it feeling like a prop explosion.
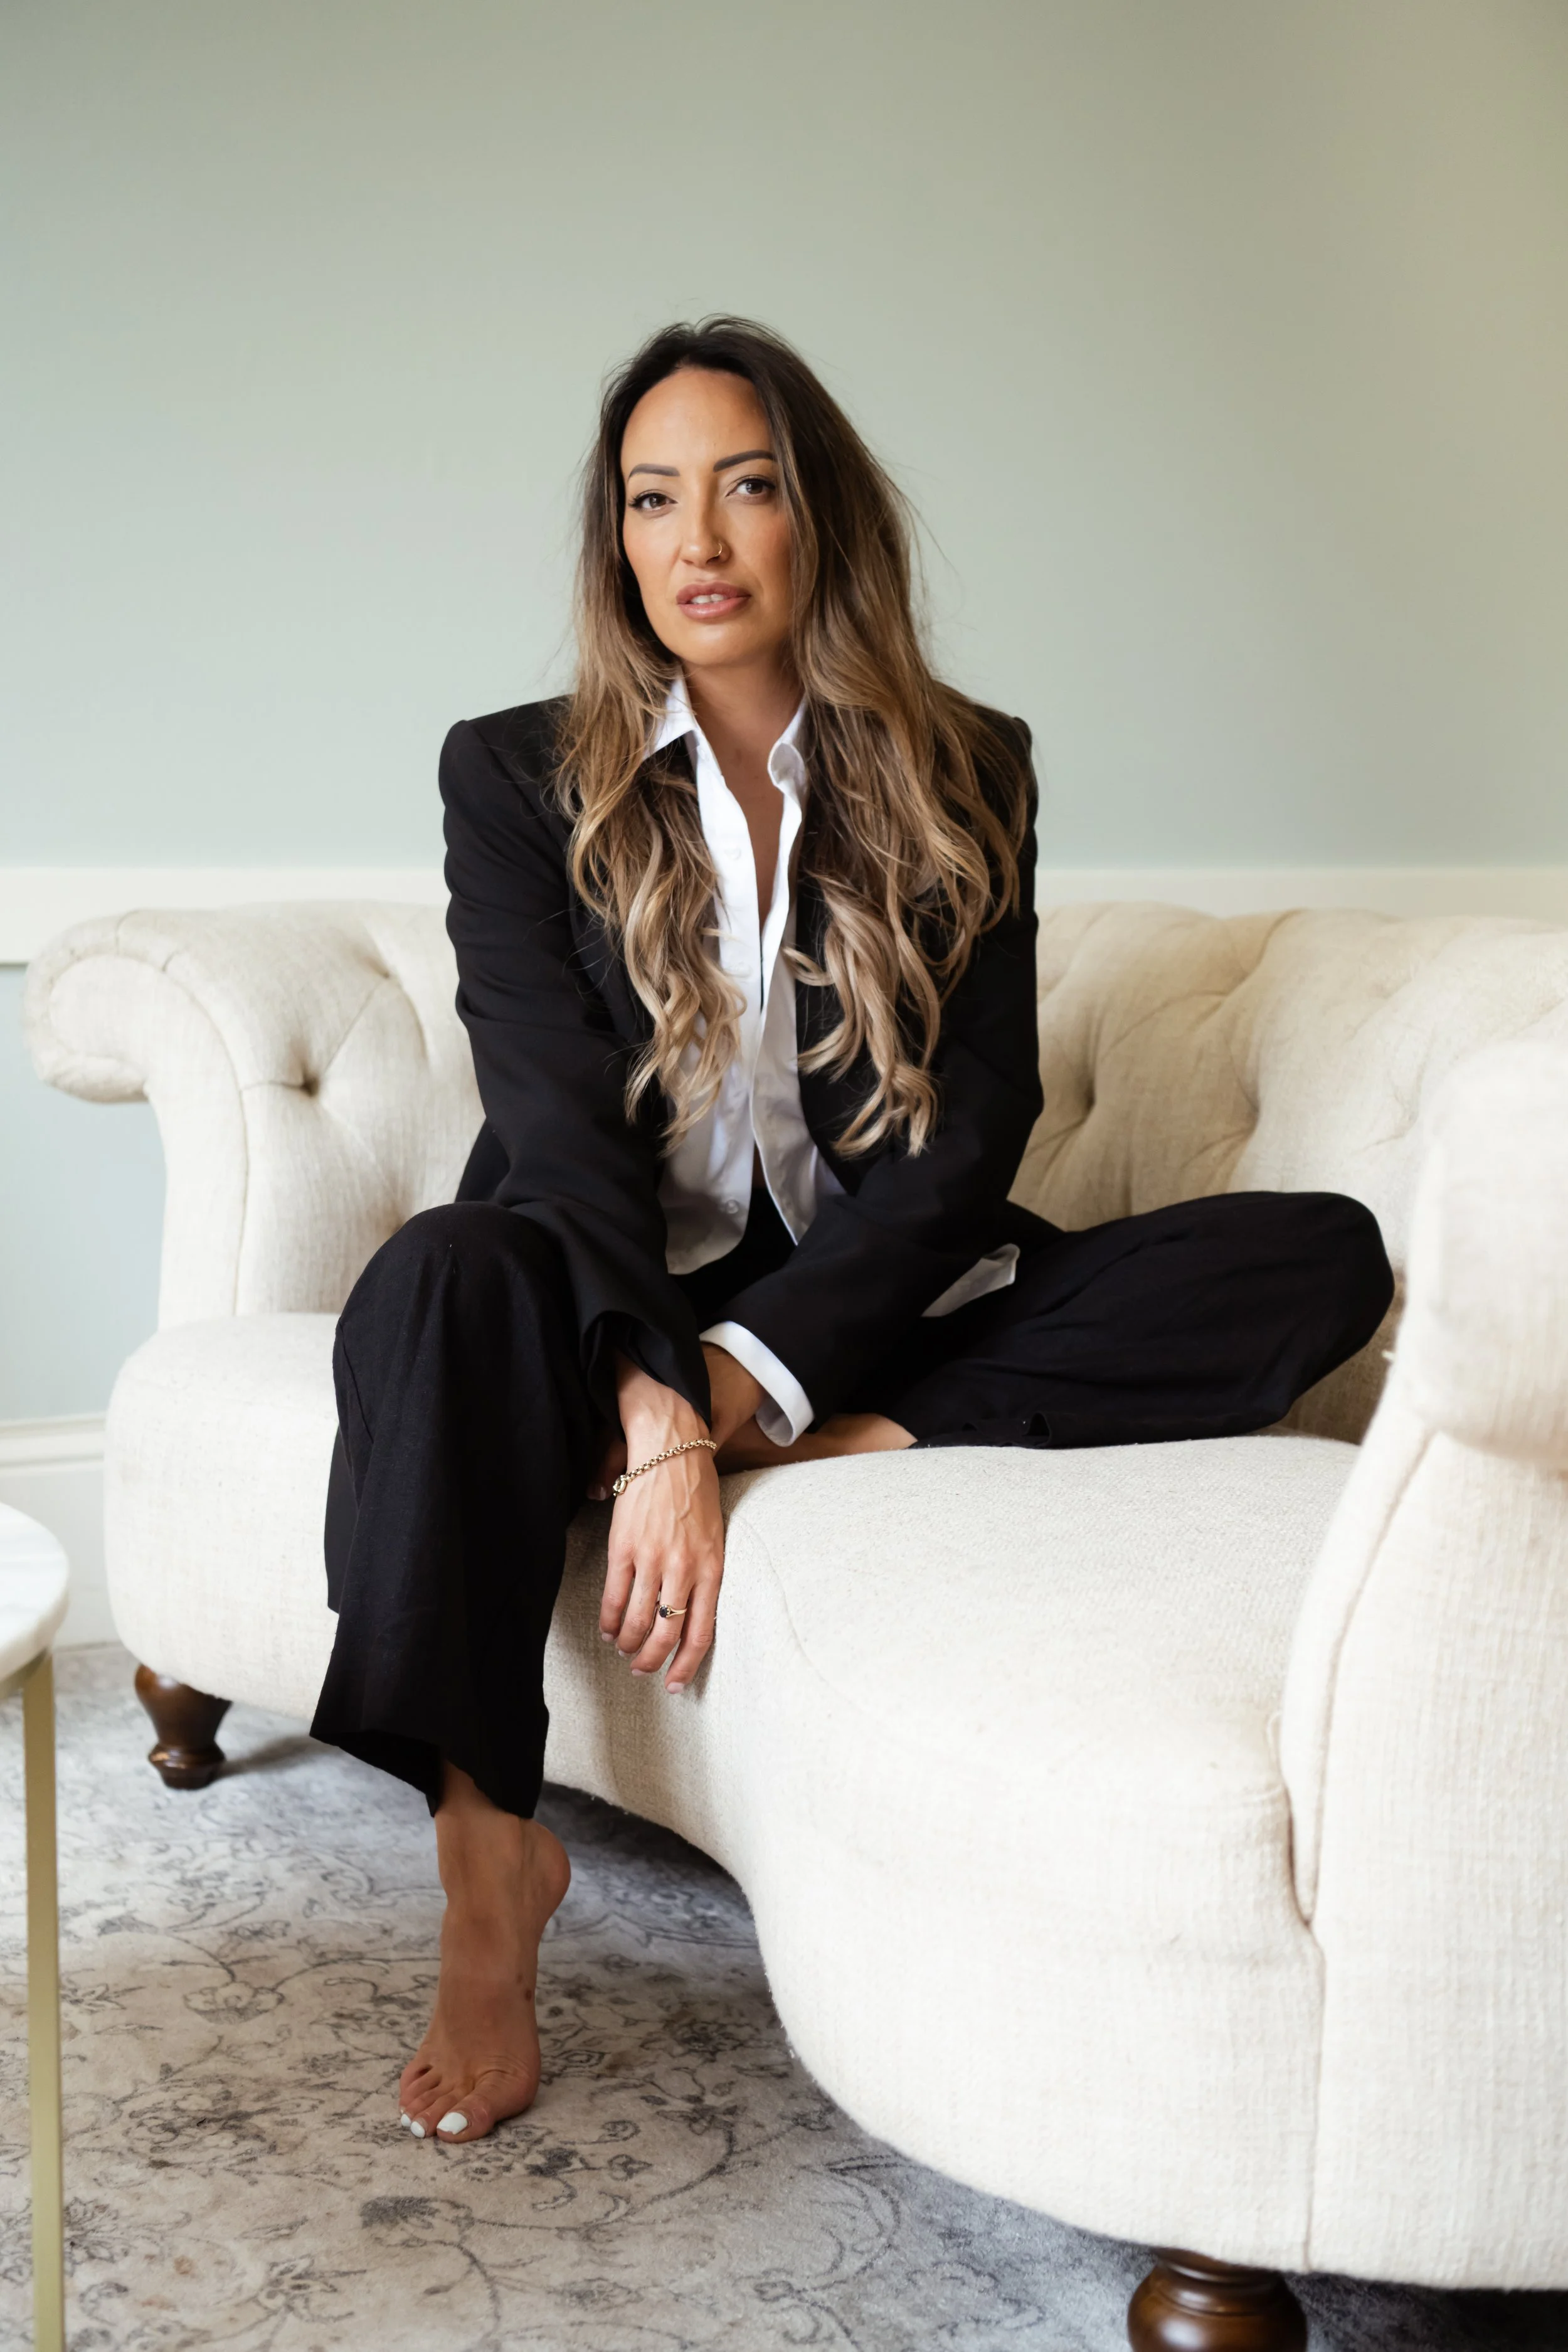
How to plan locations
Location planning is something I help all my clients with before their session. The right location does a lot of the work for you. It sets the tone, adds context, and gives your images a sense of place without needing a lot of additional styling.
For a Wellington personal branding photographer session, you have a lot of options. A beautiful cafe with good natural light. A co-working space. Your home office. A garden. The waterfront. A studio with a clean backdrop.
My advice is to think about where your clients imagine you working. If you coach women online, a relaxed cafe or home environment probably fits better than a corporate office. If you run a product business, your workspace or a styled studio might be more relevant.
We usually shoot two to three locations in a session. Enough variety, not so many that we're spending the whole time travelling between them.
Hair and makeup
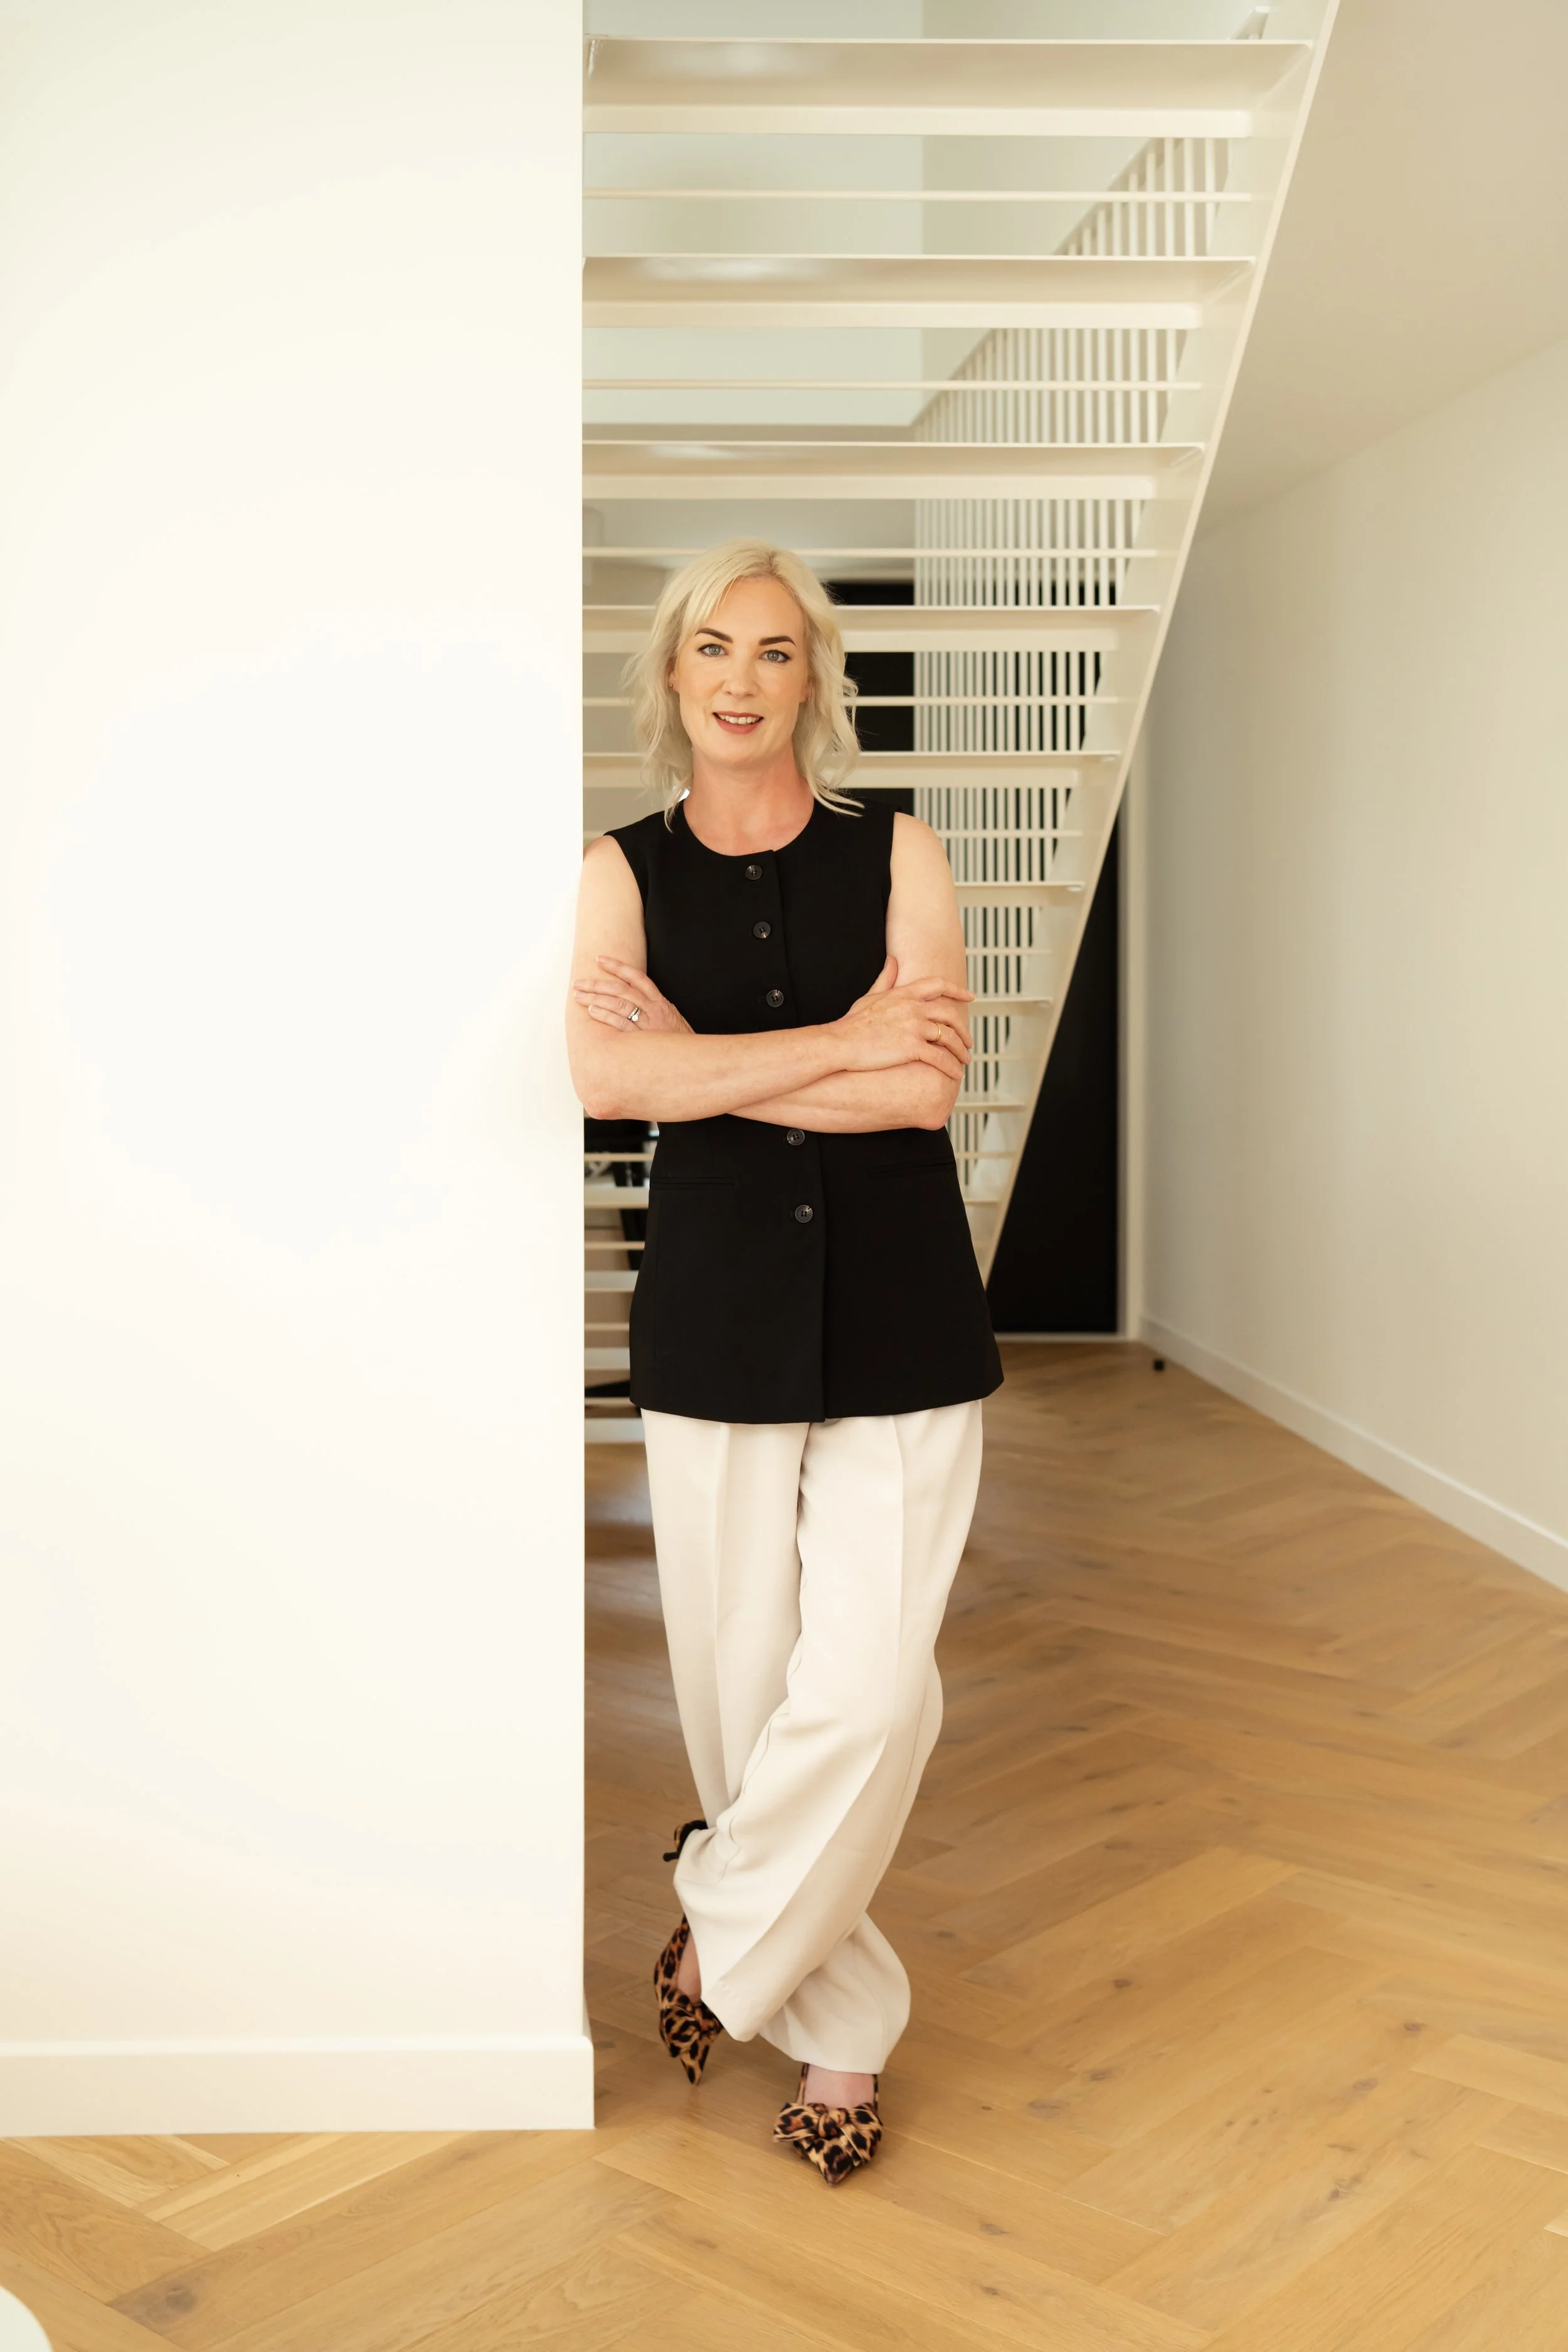
You want to look like you, but the best version of you. Camera-ready doesn't mean heavily made up. It means your hair is done, your skin looks healthy, and nothing is distracting.
A professional hair and makeup artist is worth considering if it's within your budget. Not because you need a transformation, but because having someone take care of that part of the day means you arrive calm and confident rather than stressed about whether your eyeliner is even.
If you do your own makeup, go slightly more than you would for a normal day. Camera and editing software both slightly soften features, so a little more definition than usual tends to look natural in photos even when it feels like a lot in person.
Bring touch-up products with you. Lip balm, powder, a brush. Small things that let you refresh between outfit changes.
What actually happens on the day
Here's how a typical session with me goes.
We meet at the first location. We spend a few minutes just talking, because the best thing for your nerves is forgetting you're being photographed, and that starts with a normal conversation.
I guide you into position and then give you small adjustments as we go. Turn slightly this way. Look over here. Relax your shoulders. Most of the direction is tiny, specific, and practical. You don't need any experience in front of a camera. I do the thinking for you.
Between locations or outfit changes, we'll look through some of the images together. Seeing good photos of yourself early in the session tends to settle any nerves completely.
By the time we finish, most people are surprised at how fast it went and how much we got through.


A quick checklist before your session
Two to four outfits planned and packed
Three to five props relevant to your work
Locations confirmed
Hair and makeup sorted
Touch-up kit packed
Snacks and water if it's a longer session
Phone charged in case you want to capture behind the scenes content
Thinking about booking a personal branding session in Wellington?